
Work of the Diamond T has progress at a good pace over the last week. All of the main construction has been done to the body, cab and chassis, with only some minor details left to be added to the doors prior to painting.
But along the path to this stage, there has been a few little problems that needed to be rectified. Firstly, the etched cradles for the fuel tank and locker is very delicate and prone to damage. I discovered this last and resulted in it being knocked off the chassis a couple of times. After the second time, I decided to go with the plastic cradle instead as it was more sturdy then the etched one and located in position on the chassis a lot better than the etched one ever did. The second problem I had was with the front winch. The drive motor was the wrong way around, so the drive shaft to it had nothing to connect to. So, carefully with an etched saw blade and scalpel, I cut through the pins securing it to the frame and drum, then re-glued it in the correct position.
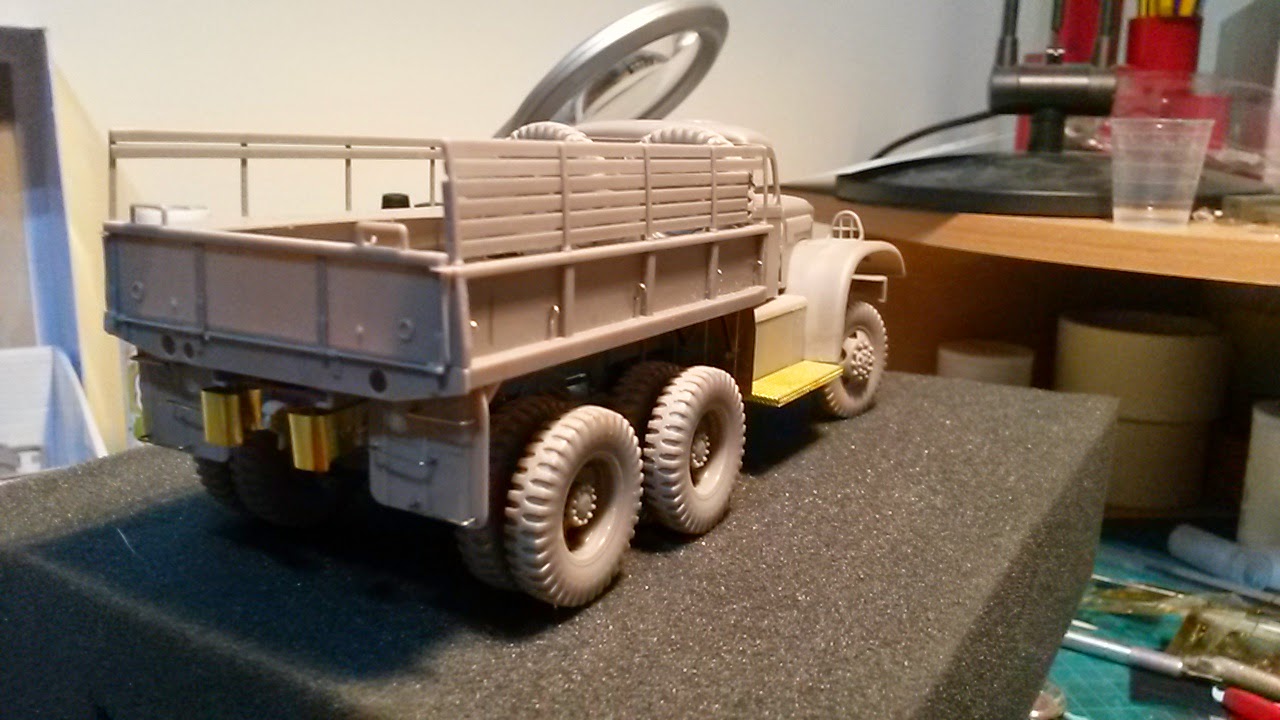
Work progressed to complete the final bits on the chassis, mounting the fuel tank and locker on the cradle ready for the steps to be added. I decided to use the etched ones from the detail set instead of the plastic kit steps. These look miles better and folded up without any trouble using the bending tool.When test fitting the steps, I found that the mounting brackets on the plastic cradle were too low for the etched steps. So after trying out a few different thicknesses of plasticard, I found the correct level for the steps to on the cradle. To finish off the cargo body, I just needed to add the handles/steps on both of the rear mudguards. These were made from some bent wire and glued into hole which I had drilled for them.
My original plan was to glue the two halves of the cab together after the interior had been painted. But I decided not to do this, mainly to save a bit of time and the hassle of cleaning up the joint then retouching up the paint afterwards. So the cab was glued together and I did some test fitting with the bonnets tape to it on the chassis. This was when I noticed that the front of the cab sat lower then the back when not supported by the bonnets. So out came the various thickness plasticard and once I found the right thickness, I cut and shaped it to suit. This was glued at the to the underside of the cab floor so not to spoil the look of the chassis. Another problem solved which reared its ugly head on this project.
Now I have only got the last few bits to be fitted to the doors, the handles and mirrors, then it's strip down time, set up the spray booth, then get the primer on her followed by the Olive Drab.


No comments:
Post a Comment