
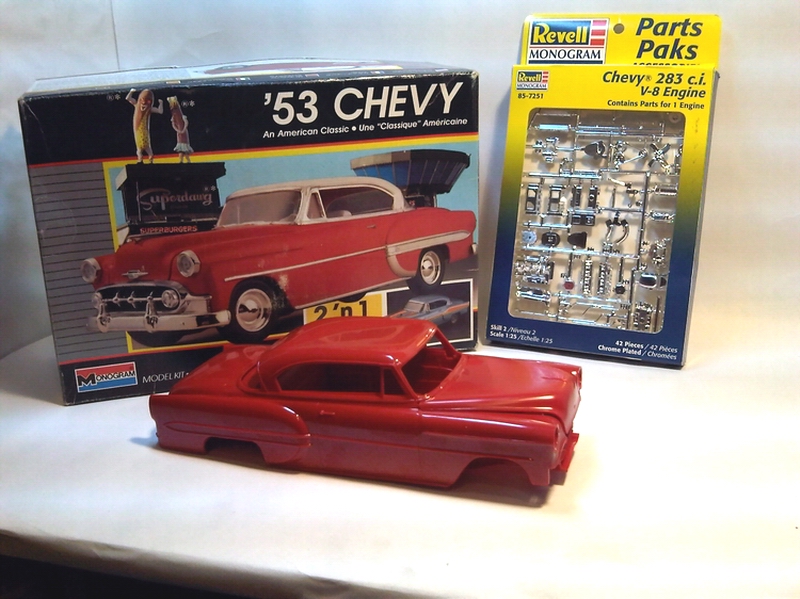
This project started about three years ago now, could even be a little earlier, you know how time flies! The original plan was to build this car and replace the straight six engine with a V8 using the Revell Parts Pak Chevy 283cu replacement engine. As I started, it occurred that the Revell engine would look too small in the engine bay, so a resin 502 TPI resin engine from Gibson Engines was purchased. This was definitely larger and it was also a modern engine to, fitting in with my idea of doing a modern, but retro looking custom car.


Next, fill in the holes for the badge and emblem on the bonnet to start to get the cleaner look.

The quarterlights on the door were the next items to be removed, a more open window line was required for this project.

To start to get the cleaner look to the cars lines, I began removing the moulded chrome trim along the side the body. The rear areas of trim were left originally, but this was to change a little further down the development process.

Next the boot lid had the any trim location holes filled in and sanded. The rear light are mounted on large chrome bodies,so in the de-trimming process, I opted to have the rear light clusters "frenched".

More sanding to remove any trim mark on the bodyshell.

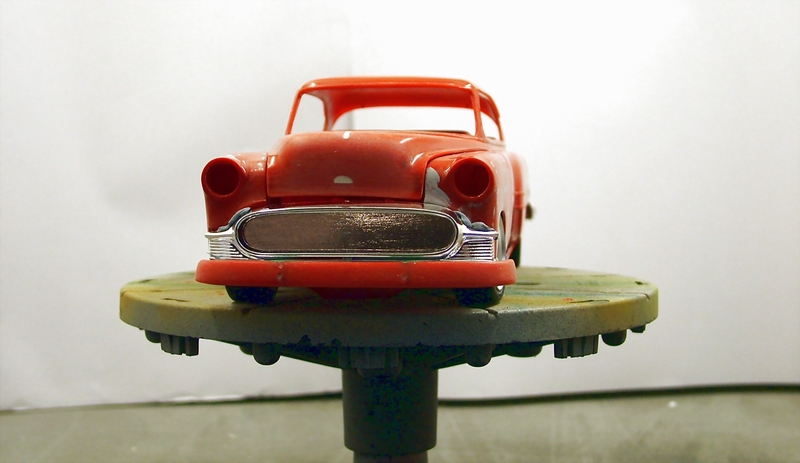
As the rear lights were "frenched", the same needed to be done with the headlights. First the headlight openings were cleaned up and enlarged slightly. Then the headlight unit had the chrome surround removed and the units diameter was reduced so it would fit inside the opening in the wings.

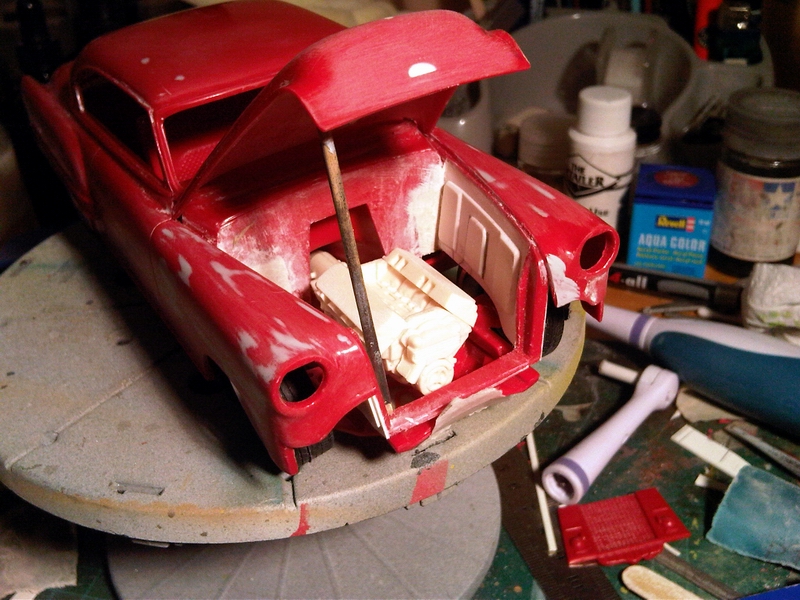
The main engine block and transmission were assembled, then as they get positioned in the engine bay, a little clearance issue raised its ugly head!


Problem sorted! Remove original inner wings and build some new ones. Result, more space.
The next little job to be done, remove the lower window trim to have a cleaner line to the side windows.

The chassis and underfloor were to receive my attention. First the exhaust system was cut out and then the hole filled with some plasticard and filler. Then more filler was added to the sink marks in the chassis rails.


The following photos were taken after lowering the suspension height and using the original set of wheels I planned to use for the car. These wheel got changed later as they were not large enough for the look I wanted. Still trying to decide between two different wheels.


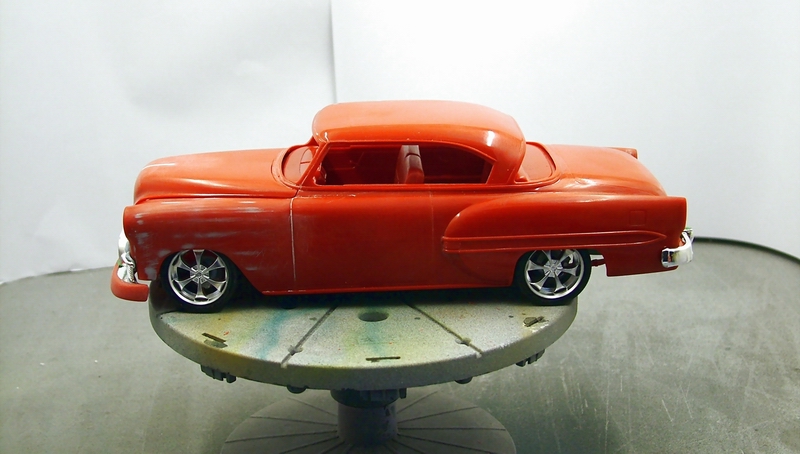

These photos were taken at the beginning of the project. There has been more progress done to the model since these were taken. New photos will be taken and posted with the latest work details of this project in the next couple of days.
No comments:
Post a Comment