
The chassis frame was assembled with a little confusion between the instruction diagrams and how the actual parts assembly together. This was on the front winch that sit between the chassis rails where the diagrams show the drive gearbox one way, but when you actually build it, it assembles the opposite way around. Not sure which way is correct, but the parts only assemble one way and not the other!

Said winch gearbox on nearer side of cable drum.

The rear suspension assembly is quite a detailed area of the chassis in this build. Once the main parts (ie. axles, springs and crossmember) are assembled, we start to add the brake actuators and the various bars that stabilize the axles from twisting. The following four photos show the detail of the rear suspension through it assembly over the last week.


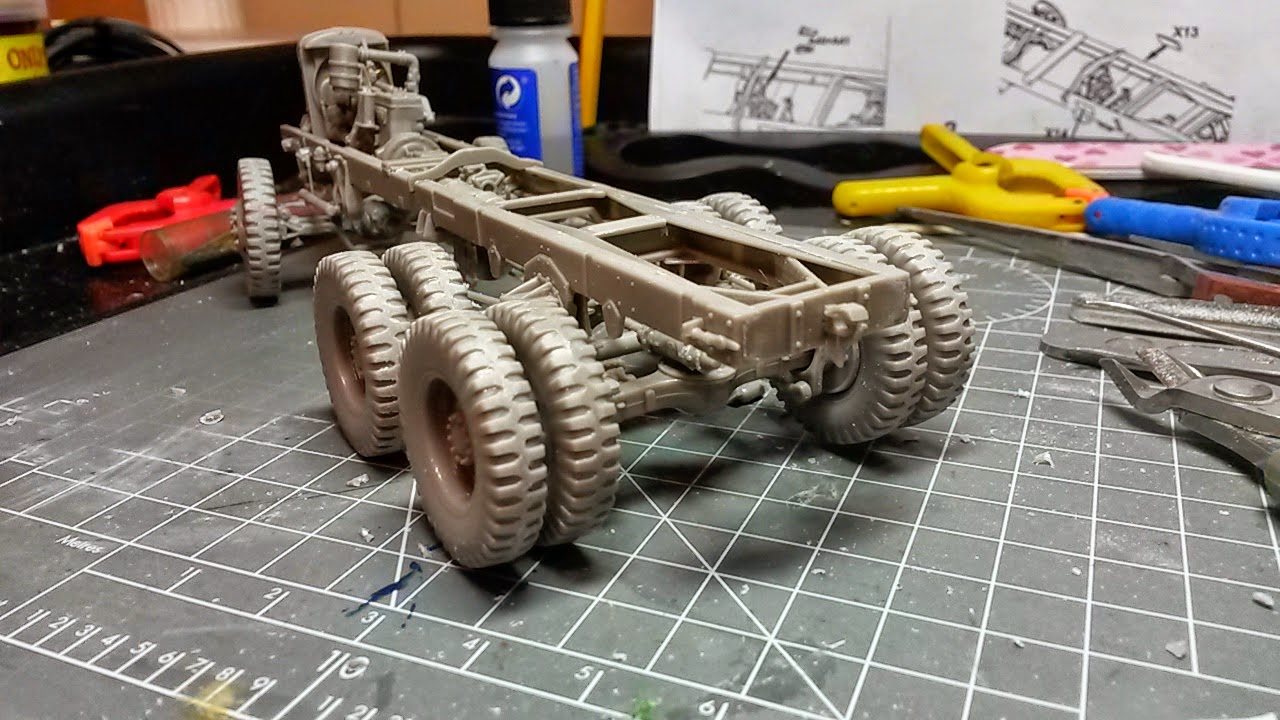
The next selection of photos are the latest from a couple of nights ago with the wheels, engine and radiator test fitted to see how they looked when they are glued in place. You will also see that the transfer box, handbrake and various prop shafts have all been fitted to the chassis. If you are building this model yourself at any point in the future, you might find that the propshafts are a little longer then the spaces they are meant to fit. I just trimmed the location points where the shaft UJ's mount onto the axles and transfer box. On the front axle, there is a small disc which fits between the UJ and the extension on the transfer box. Firstly, mine was eaten by the carpet monster, so I scratch-built a replacement, which once I tried to fit the prop shaft prevented it from fitting. So I removed it and the prop shaft went into position without any problems.


Whilst getting carried away with building the chassis, I forgot to check the upgrade set to see if there was any kit parts to be replaced from it. So, when I checked, to my annoyance I found there was a few parts to be replaced from it. The first were these bump stops which the plastic parts are replaced by some etched ones. There is also a couple of parts on the rear of the chassis to be replaced, but luckily, I have not put the plastic versions on yet.

Well, that is all for this posting. There is a few more parts to be added to the chassis, these include the rear engine mounts and the cradles for the fuel tanks. I think there are a few other items to be added to, but I am not sure what they are until I look further along the instructions.
No comments:
Post a Comment