Wednesday, 12 August 2015

Ferrari F40 "Blackstar" WIP #3

Finally, I have got the engine finished. It took a little longer then I had planned, but we can blame Microsoft and our shower cubical for that. Spent half of last week sorting out the upgrade to Windows 10 on our laptops, one decided to not work afterwards, the rest was late finishes at work and re-tiling the shower after some tiles came loose in it. But setting those hold ups aside, the engine came out okay.

The colours of the engine are from what the instructions said they were. In general, the engine is slightly different from the photos of the ones found in the production cars I have seen, so this would be expected as it was one of the prototype cars built. The whole engine has been given a wash over using Vallejo's Game Color washes, black on the engine with sepia over the exhaust system. I just need to do a little more over the front pipework and pulley system to tone them down a bit.

As for the finish result, it is a shame that I have to put it in the car. It would make a lovely model by itself mounted on a stand, but it has to go into the car. Before this happens, I will take some photos with my camera to use on the website once the car is finished. Next, finish the main chassis construction and get it painted. Until next time, happy modelling.


Saturday, 1 August 2015

Ferrari F40 "Blackstar" WIP #2

I have been enjoying this last week off work. We have had a couple of day trips out, Monday we went pony trekking along with my mate Roger and his daughter. Wednesday a drive over to Holmfirth and a visit to the "Last Of The Summer Wine" exhibition, an all time favourite TV programme of mine. But enough of the family stuff, lets get back to the modelling talk.

As what I planned in my previous post, work start on the F40 on the following Friday. Working in this scale in automotive modelling is a joy, the last time I built a car in this scale I was in my teens. The engine was the first part I started to assemble making up the main engine/gearbox assembly, whole exhaust system and air intake manifold. These have all been in the separate sections as listed above to make it easier to paint them. I have also left the rocker covers separate as they need to be painted red, this will be easier to do away from the cylinder heads.


Once the main engine assembly was done, attention was moved over to the chassis. Most of the rear suspension and engine bay has been assembled. I have had to leave a couple of parts off for now as they would prevent me from fitting the engine in place once the engine and chassis are painted. These parts will be painted in preparation to be glued in place on the chassis once the engine is fitted in the bay. The rear brake calipers have also been left off for now as a metal rod needs to be inserted through the suspension uprights and through the gearbox on the engine. This is to represent the half shafts between the gearbox and rear wheels. Some of the front suspension has been done at this stage, but i have stopped work on the chassis to concentrate on painting the engine and final assembling of it.


The next four photos show the engine dry fitted in the chassis. The part on the chassis that I left off is a brace which crosses behind the two intercoolers on the engine. With that in place, I would not get the engine past it. Mind you, in this unpainted condition, it does look impressive as it is.


Over the last few days, I have been painting the engine to get it ready for final assembly. Everything was given a couple of coats of Vallejo white surface primer and left to dry overnight. The engine/gearbox assembly and air intake manifold were all painted with Alclad's dark aluminium. I went with this shade as normal aluminium would have been too bright in my opinion. The exhaust system parts all received Alclad's stainless steel. These were then detailed using Alclad's hot metal and manifold shades for heat staining and the dark metal colours of the turbos. The two intercoolers were painted in aluminium using the AK Interactive's new Xtreme Metal range of paints. This paint comes out quite shiny and is simular to Alclad's airframe aluminium in finish. The rocker covers are hand painted using Revell's Aquacolor paints. The colour is carmine red which I put a dab in a mixing palette and add a drop of water to thin it slightly.Thus way you can build up the colour in layers and you do not get the brush marks as much. 

Well that is all for now, I hope to be posting photos of the finished engine in a few days time with all of the plumbing on it to.


Thursday, 23 July 2015

Ferrari F40 "Blackstar" WIP #1

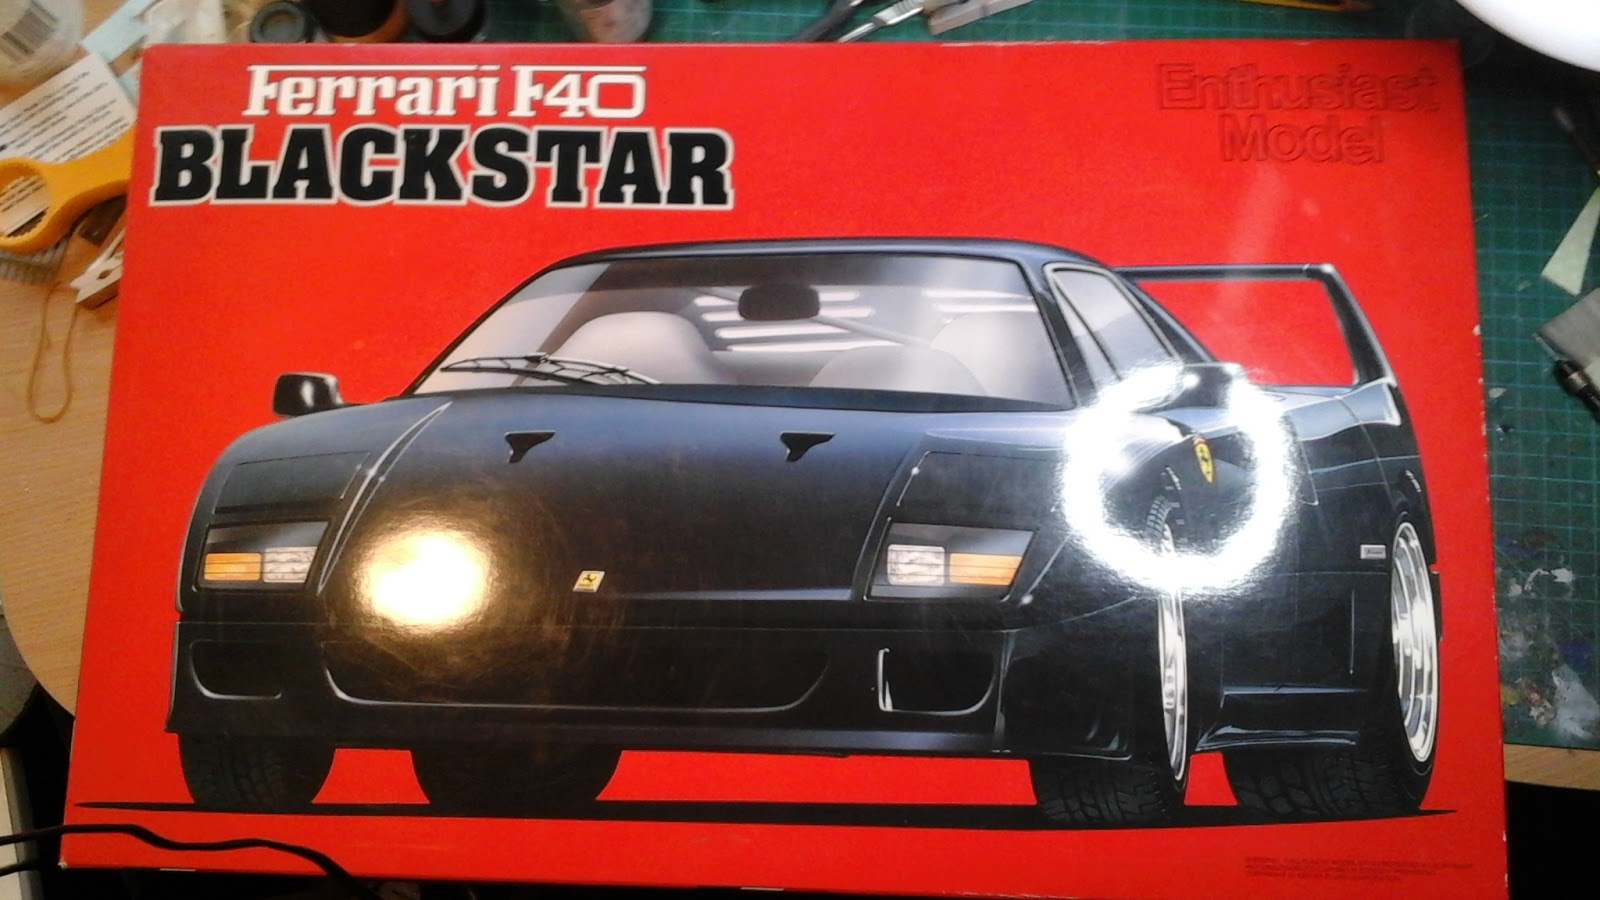
Well, I was not going to start a brand project, but I fancied a new challenge and this kit has been sitting in the back of my mind for a few weeks now. I picked this Ferrari F40 Blackstar kit up a few years ago. It leaped out at me from a stand and I just had to get it.   The temptation to start it had been niggling at me before we moved last year, but I resisted telling myself to wait until after the move. Now I have succumbed to the little voice in the back of my mind saying, "Build it!".

So, about the Blackstar. This is not a true F40, it was actually one of the eight prototype cars built for testing various elements of the future F40 production model. There are a few slight differences on the car compared to final production car. I will explain more about these later as the build progresses. So building will begin tomorrow evening with the engine to get the main block ready for painting with Alclad.


A mass of parts including hose and wire for detailing the engine, and metal mess for all of the grills on the car.


Just to give you an idea of the size the model will be once it is built. This kit is 1/16th scale, but I also have a Testarossa in 1/12th scale. 

Tuesday, 21 July 2015

Minion Attack! Wave Three "Judge Bananaaa" Start To Finish

I have posted the WIP and finished figure photos together in the one post this time. Due to the speed these figures took to build and paint, there was not really much time to do WIP posts during their build.

Unlike the other two Minion figures, this one came with resin pins moulded into the arms. I was debating whether to replace them with wire pins, but after having a good poke at them, I stayed with the resin one. Once the arms were glued on, any excess glue and gaps were dealt with before giving him a few coats of primer. The "Judge" shield was left off at this stage to be added at the end once everything was painted.


Painting was the same as the previous two figures, using Tamiya, Revell Aquacolor, Mr Hobby and Vallejo paints. Looking on the internet at images of Judge Dredd, it was hard to tell what colour the judge's uniform was. They ranged from black, to dark blue through to various shades of grey depending on if the source was a comic strip, cartoon or one of the movies. So I used Midnight Blue from Mr Hobby for the uniform as it was more a compromise of all of the variations of the different Judge Dredd's out there. Carmine red was used around the helmet edge before giving the uniform a coat of matt varnish and the helmet a coat of satin.

The badges, chains and shoulder plates were painted with Mr Metal Color gold, then buffed up once it was dry. To age and highlight the detail on these gold parts, I used a sepia wash for this job.The banana which he is holding was painted with Tamiya's matt yellow with the ends painted matt black. The dark lines on the banana were created using the umber wash, but just brushed along the lengths where the skin segments join up.

The expression on his face has made this my favourite out of the three figures I have so far. So which ones are next? I think the next figures will be the Clint Eastwood cowboy and Wolverine character figures. But this depends on what I find at the Birmingham show this weekend. Keep a look out on here and see what happens.


Minion Attack! Wave Two "I'll Be Bananaaa" Finished

Minion number two finished, the Terminator returns to terrorize us. 

"Why has he got metal and blood in his head?"

This is what Kyran, my grandson asked me when he saw this figure. So then I told him about the Terminator films and showed him some photos of Arnie from the first film, explaining that he was a robot covered with human flesh. I still do not think he still understands it!

Now back to this figure. I basically used the same range of paints that were used on the "Paaarp!" figure. The main colour used was black for the coat, trousers and boots. Various metal finish paints were used for areas like the skull, gun, zips and shotgun cartridges. I decided to take a different path on the eyes compare to the image on the packet. The damaged eye was painted with Mr Hobby's steel colour and finished with a red dot in the centre. I thought it would look more like the damaged Terminator from the film where you see the exposed electronic eye on it. I am glad I did it this way.