Saturday, 17 October 2015

Southwell Model Show 2015

Last Sunday, I made my first visit to Southwell Show which was put on by the Newark and Lincoln Model Clubs. With the move up to Yorkshire, it gives me the chance to visit new shows that were a bit of a journey to travel from our old home. This was only a hours drive down the A1 from my home, I ended up at the Southwell Racecourse where the show is held in the grandstand. Unlike other shows I visit, entry to get in it was free and that was the start to a very pleasant day.

One thing I like about going to these shows, is catching up with friends from around the country and meeting up with other who I have not, but spoken to on sites like Facebook. At this show, I finally met up with Joe Raymond Olmo who I have know on Facebook for a few years, but never actually met face to face. On top of meeting up with friends, there's the joy of shopping. Kits, paints, detailing items, more kits, books and more kits! A lot of self control is needed, and with Telford coming up in a few weeks time, we can end up in trouble when we get home after a show.

So back to this show. Well, it is the type of show that is not too big, and not too small, just about the right size. There was food and beer available to buy along with a comfortable seating area near the entrance. At the end of it, I thoroughly enjoyed myself and the day was finished with seeing XH558 flying back to Robin Hood airport at the farewell tour flight. Yes, I spend a little money. Got two more Minions to build, paints, a book and Airfix's Dambuster Lancaster at a bargain price (new tooling to).

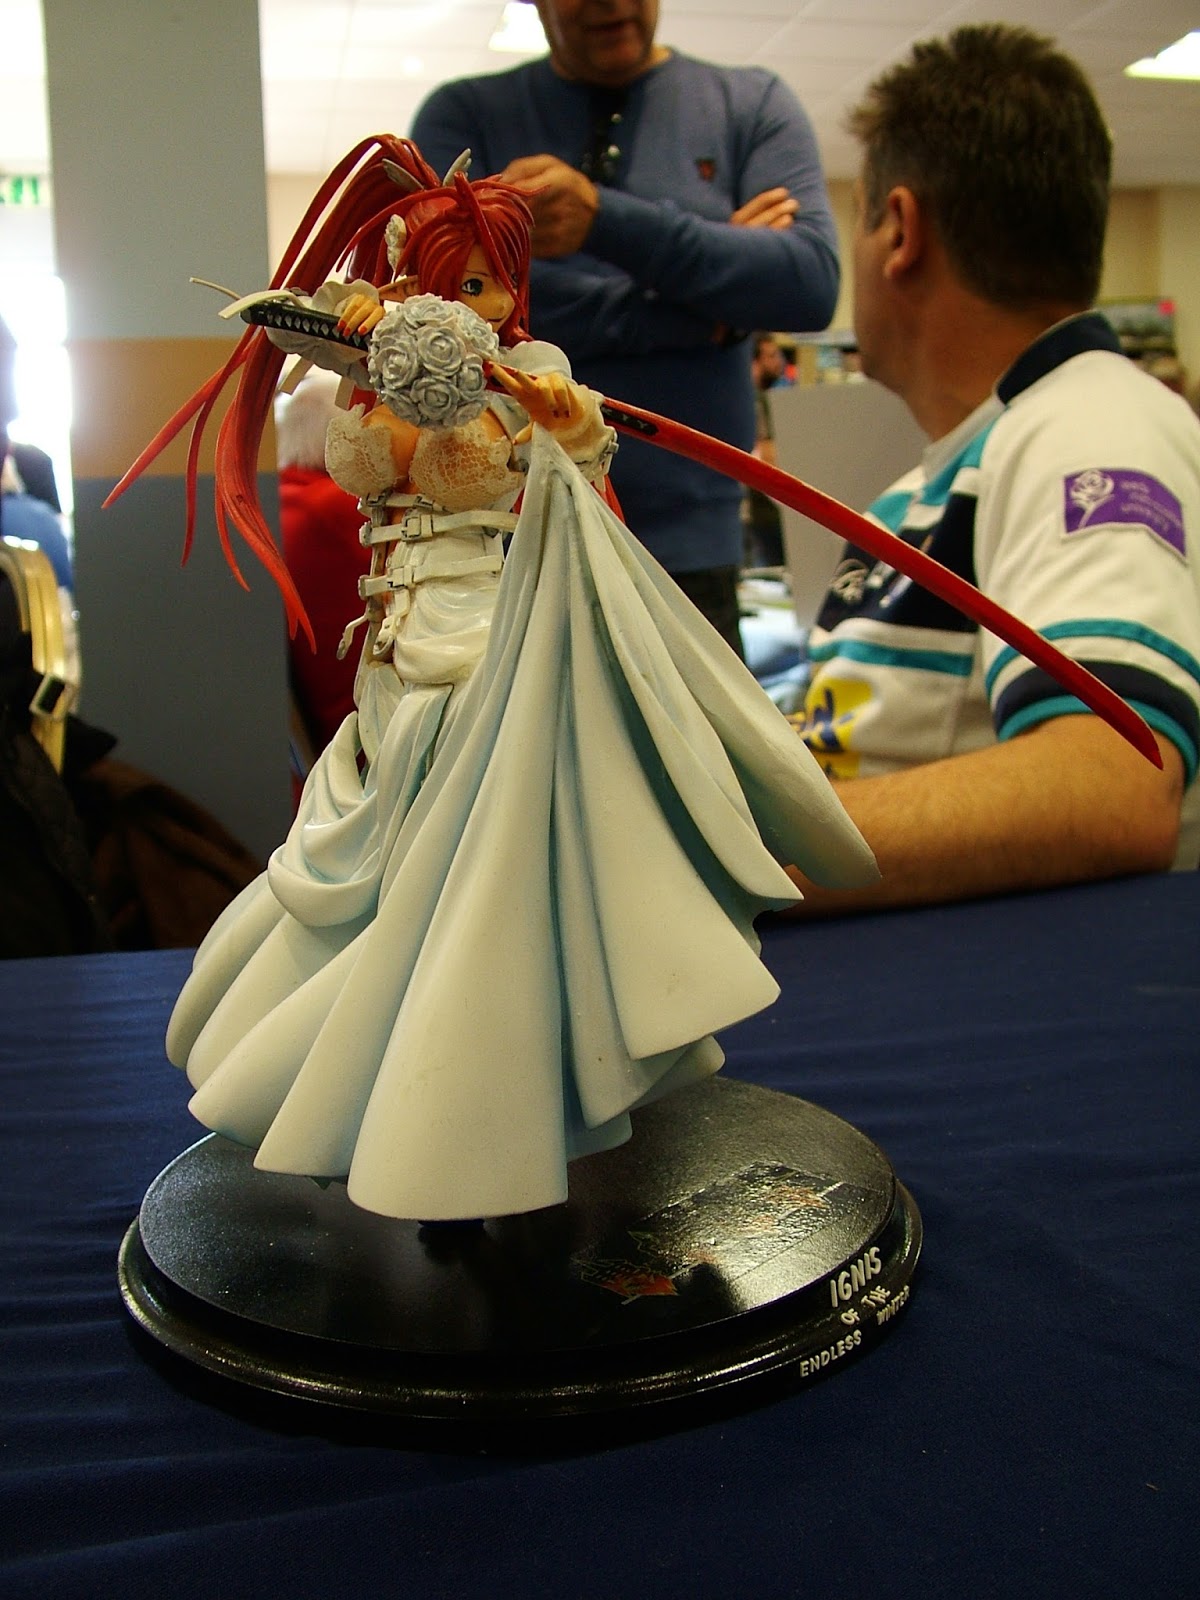
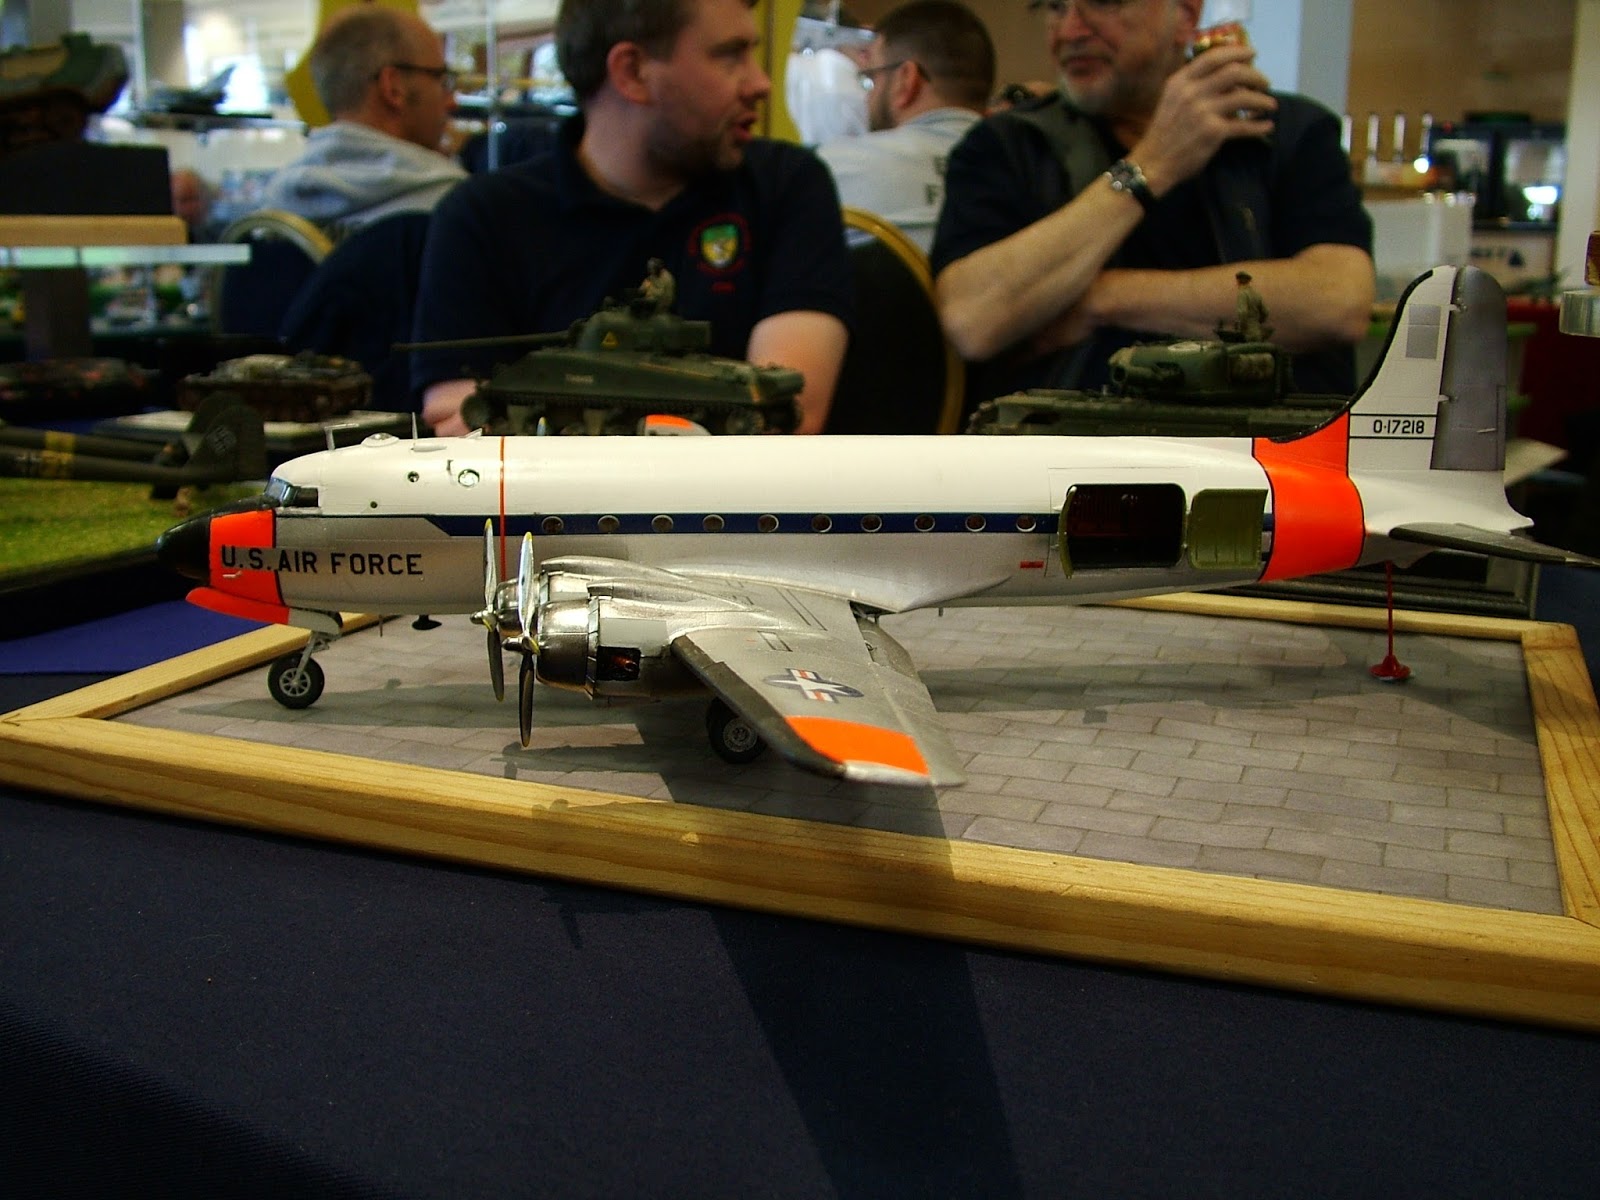
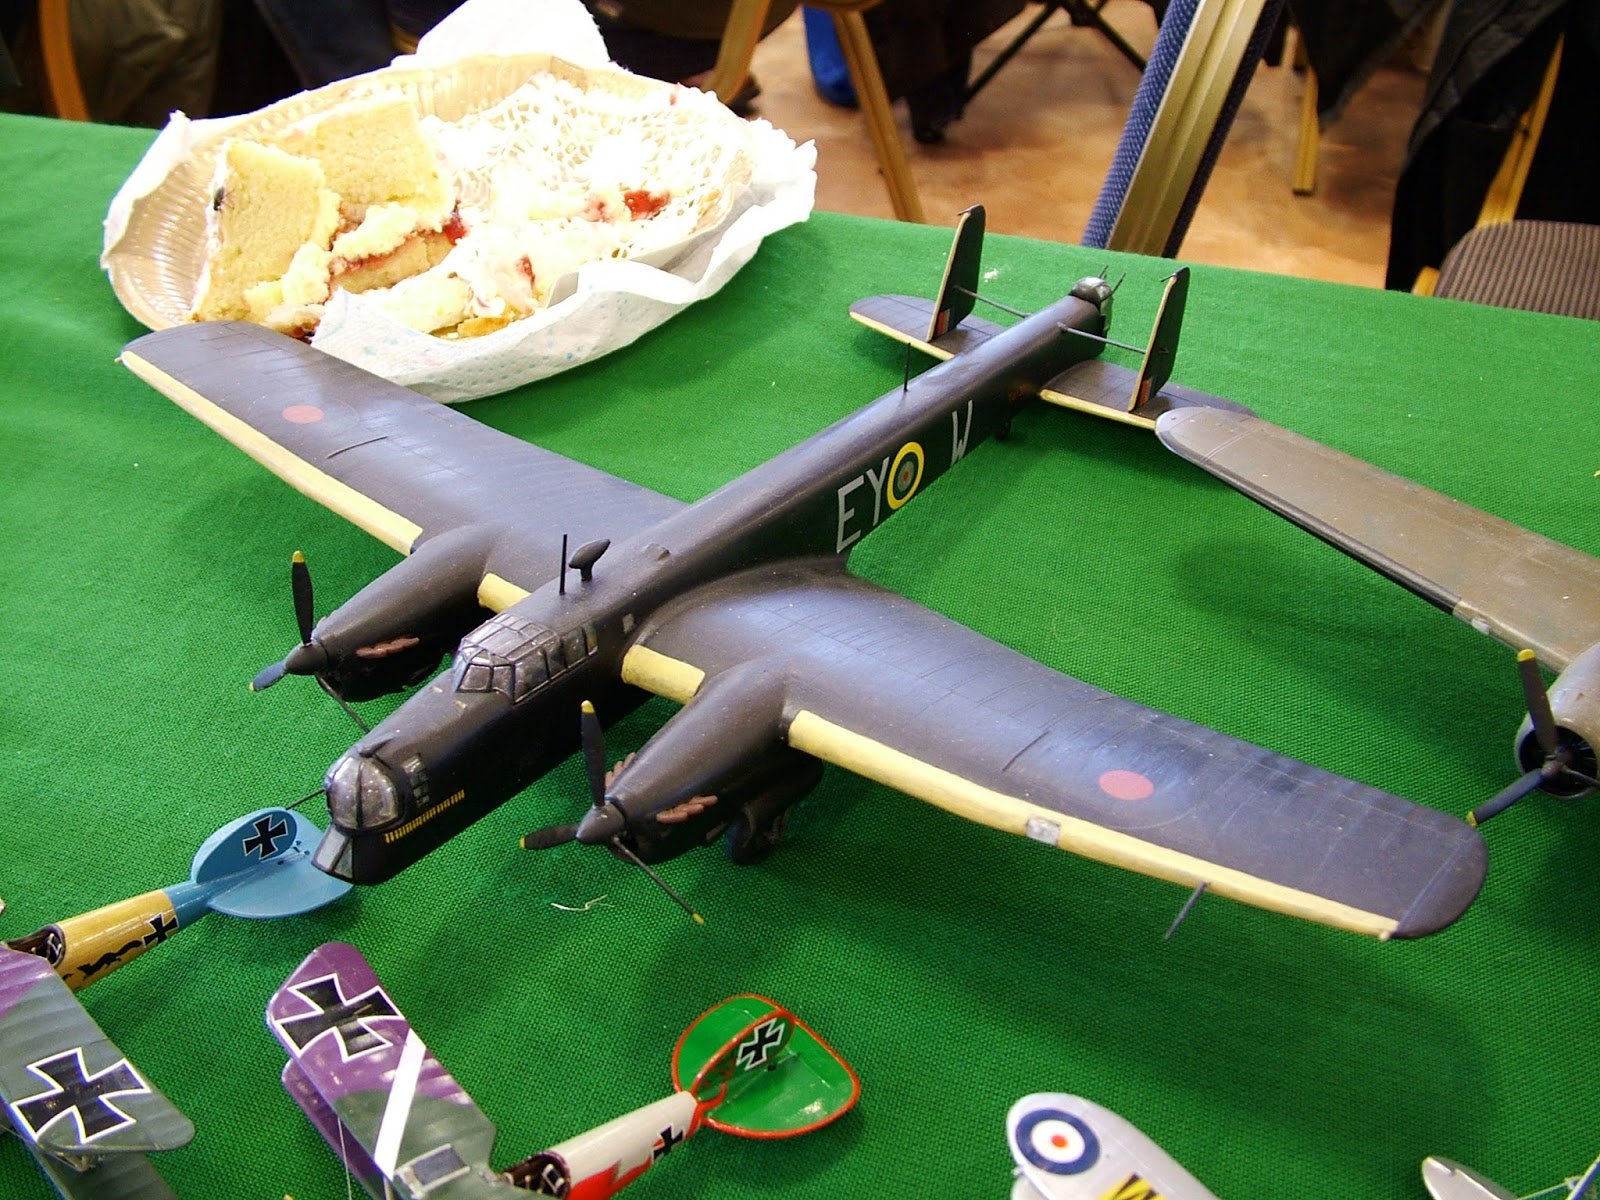
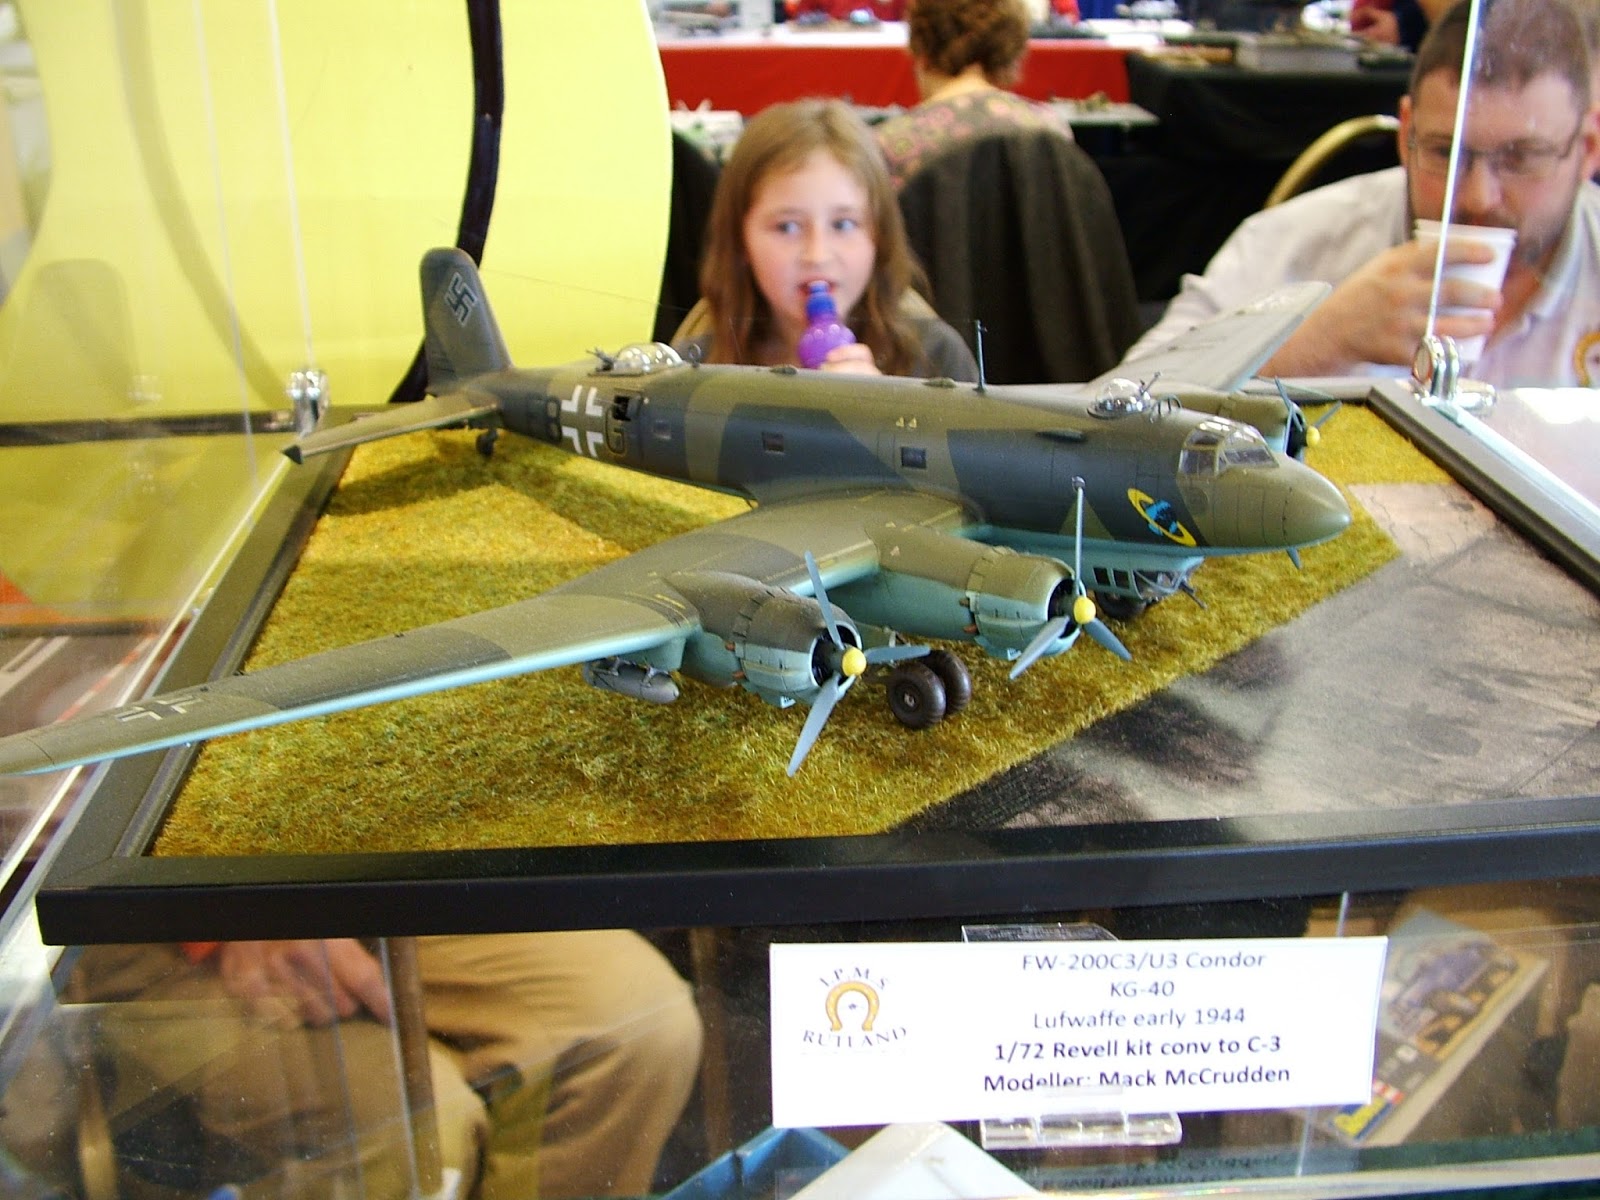
So here are some photos I took around the show, starting with one of the Shackleton's which were one the Bridlington & Wolds stand. Yes, I did say one of, there was two of these birds on here.









F-51D & P-51D Dual Build Finished

"Don't you just love it when a project comes together?"

I lift my hat off to Airfix, those new tooling Mustangs are wonderful kits to build. Both started at the same time, one finished in a week (helped with being off work) and the other in two and a half weeks. I can strongly recommend these kits, I already have two more sitting in my stockpile waiting to be started. 

In my last posting, I had just started with the decals on the F-51. This kit came with a lot more then the RAF P-51, mainly because that was a starter set kit so more basic on that building side for beginners. So with the F-51, once all of the larger markings and nose art were laid down, I finished off the decals with all of the stenciling for the aircraft. When the sharks mouth decals dried, there was a little gap between them and the upper surface of the intake was still in silver. So these areas were touched up with some red paint before going over with gloss clear to seal them. Now the detail painting and final assembly could begin, I had set myself a deadline to take this model to the Newark Model Show on the 11th October and time was running out.


Finally, I made the deadline, the F-51 was finished by 8pm on the night before the show. I stayed with my plan and kept it as a preserved aircraft, so absolute minimal weathering was done to the model. A couple of strips of Bare Metal Foil was used on the inside surface of the main undercarriage doors, on some aircraft, this panel was painted and others polished metal. 

Yes, the real aircraft might have most likely been painted silver, but I thought that would have been a little boring. The actual flying preserved example of this aircraft is painted silver and it does not have the same stand out effect as it would in natural metal. But as the saying goes, it's modellers license. And I hope you agree with me that the natural metal does look better then the painted silver finish! Enjoy.


And here are some photos of both Mustangs together that I have just taken. Both were entered into the competitions last Sunday along with several other of my models. The F-51 Mustang came home with commended in the USAF class. My 1/48th scale Spitfire FR Mk.XIVe came second in the RAF/FAA class, just beaten by a 1/24th scale Typhoon. Cannot grumble at that!


Friday, 2 October 2015

F-51D & P-51D Dual Build WIP #3

Yesterday I posted about the finished RAF P-51 from this dual build, today I am going to bring you up to date with the F-51. The first photos below were taken a few days back after the model had been sprayed with the Alclad. First, the model was given a coat of Airframe Aluminium before a few panels were sprayed with dark aluminium, dull aluminium and duraluminium. The model was then sprayed with Alclad's gloss clear and once dry, maske off the top of the fuselage sprying it with matt black and then the wing and tail tips to spray them yellow.


Up to tonight. Whilst I am writing this update, I am applying the decals to the Mustang. As the decals are either soaking or softening on the model from the Microsol, my fingers are tapping away at the keyboard. There are a few more decals on this model compared to the RAF Mustang, so the USAF markings are going on first before the stencils get added. 

Normally, when I build military aircraft, I would weather them to represent an in-service aircraft. This was my original plan for both of these Mustangs, until I saw how good the metal finish on this Mustang looked. That was when I decided to build this one as a preserved flying example. On this model, I will just do the minimal bit of weathering, like around the exhausts and other areas that they might get some grime on a flying preserved aircraft. So I will be looking at some photos online to see what can be done on this model.

So, here are a couple more photos I took a little while ago this evening showing the stage she is at now.


Thursday, 1 October 2015

F-51D & P-51D Dual Build WIP #2

Onwards with the Mustangs build, and this has gone very quick so far especially on one of them. I will start with the RAF P-51 first in this post. After I had primed it up, I was glad to see that the time spent lining up the fuselage halves paid off and no further work was needed to deal with any visible join lines on her. Painting now started with spraying a few light coats of Xtracrylix's XA1006 RAF Ocean Grey over the top half of the model. Once this was dry, I laid out the camouflage pattern using blutac worms. I decided to play dangerously and not mask off the grey areas with tape, take the risk of spraying around them instead. So, light coats of XA1110 Forest Green at a lowish pressure were carefully done. This was about 80% successful, only a few slight over-sprays occurring which were touched up freehand after the worms were removed. The top half was now masked off and the lower half was sprayed with XA1015 RAF Lt Aircraft Grey before giving the model a couple of coats of Alclad's Aqua Gloss clear. This stuff goes down really smooth over the Xtracrylix paints.


On this kit, there is only a few decals supplied as it is one of Airfix's starter sets. So it did not take too long to put them all on. The instruction said to paint the propeller all over black, but I found in some photos that this squadron painted the prop hubs red. So I went over the hub with some white primer and the brush painted it with a few coats of matt red paint. 


After giving the model another coat of Alclad clear, it was time to start weathering her. First I started by giving a wash over the panel lines with some Flory/Promodeller black wash then wiped it off the following morning. Next I added some oil stains and streaks using Mr Hobby's oil colour paint. Next I started to add some soot stains around the exhausts, guns and cartridge jettison holes under the wings . First I used some Mr Hobby's soot colour, followed by soot colour weathering powders from Carrs. The fuselage was then finished off with a coat of matt clear to seal the wash and powders.


I decided to try out the super fabric seatbelts from Eduard on these Mustangs. A set were ordered along with sets of RAF early and late, and Luftwaffe fighter belts from Hannants. For this scale, these are ideal and so much easier to use then etched ones. They look great and were fitted in a matter of a few minutes. They suggess to use white PVA glue to secure the belts in place, but I just used some thinned down matt clear for the job instead. Plus it dried quicker then the PVA.


Just a little mishap with the original kit aerial, it broke whilst I was cleaning it up. So I scratch-built one from a piece of plastcard, which ended up being a lot stronger then the kit one. You can also see in the below photo the aerial cable running through the cockpit canopy, just as the real aircraft.


This was a record for me, completed the model in a week, and the F-51 is also at the decal stage (will post on this one tomorrow). This is a lovely model to build. There was no problems with it, except for the delicate joystick and aerial. It assembled up without any trouble and everything was clean without flash or misaligned panel lines. In all, a great kit. Once the F-51 is finished, I have two more P-51D's in my stash, I did not realise that there was another one of these starter set Mustangs there to. The kit cannot be faulted, well done Airfix, can't wait to see what the Vampire I have is like to build! So here are the photos of the finished model.