Monday, 6 July 2015

Arado Ar 240C-2 Nightfighter WIP #2

This are progressing nicely on the Arado, even though not much has been done over the last few days due to doing some work on the gardens, a BBQ and popping out on Sunday to see the Minions film and do a little shopping. And talking about Minions, I have three resin Minion figures that I am going to start building very soon. I will post an intro to them next.

Anyhow, back to the Arado. All of the decals have been done and they have been sealed with some matt clear. The only fiddly ones were the walkways on the wings and they had me cursing a few times trying to get them in position. Otherwise, everything passed without any hiccups on the decal side.


Final assembly has now started with the adding of the undercarriage followed by a going over with some black wash to tone things down on the gear and in the bays. Each of the tyres were also flat spotted they are in contact with the ground. Exhaust staining has also been added to the rear of the exhaust positions using weathering powders.


On the construction side, the model is about 95% done now with just a few small parts left to be added and painted. I will be doing some more weathering to the model as it would look too new and clean if I left it in this state. So it has the calling for Mr Grubby to come out and do his thing. The next posting on this project will be of the completed model, all with a bit of dirt on it.


Sunday, 28 June 2015

F-15C Eagle Finished

Well, I was hoping to have posted more WIP episodes of this build, but this did not happen. Work just kept going on with the Eagle without many photos being took right until the end. What surprised me was that when I checked on my database of my kits, I discovered that this model was started in October 2012 and it had been sitting for nearly eighteen months waiting to be painted and finished. I have too many projects like this sitting on the shelf or in the cupboard.

So, lets bring you up to date with what was left to be done and how it finished. As I was saying in the previous post on this project, the exhausts and pilot seat were in a small box packed away somewhere. After a few attempts to find said box, I gave up and ordered some resin exhaust to replace the missing ones. There was a spare seat in the kit so this was easily dealt with. So work carried on and the model was primered and painted in the two shades of grey. Once a couple of coats of gloss clear were done, the process of adding the decals started, even though there was not as many as in the kits decal sheet, still took some time due to the multi layered decals on the sheet.A coat of matt clear was sprayed to seal the decals and work carried on with the detail painting and final assembly. 


It was at this stage I discovered that part of the undercarriage assemblies were in the same box as the exhausts and seat. I did not want to build the Eagle in a flying pose, so I guessed that the box with these parts had to be in one of the larger boxes put up in the loft after our house move. So I printed off the location sheets for all of the kits and started to go through the boxes in the loft. After about a hour up there searching, I came across the missing box of parts for the Eagle and brought it down. Work now continued to finish the Eagle up to the point where I had to fit the engine exhausts. 

I now had this dilemma whether to use the resin replacement exhausts or the kit ones. After a bit of toing and throwing, I opted to fit the kit ones. I did not think the model would be good enough to use the resin ones on, so they will be saved to use on another Eagle for which I will add a resin cockpit and etched details.


So, here is the finished model. At the present time, there are no missiles on the Eagle because Hasegawa did not supply any with it. You need to purchase one of their weapon packs to arm this model. I do have the required set, but at the moment I want to save them for my Hasegawa Phantom that I have in my stockpile. For an old kit, 1980's vintage, it has come out okay. The replacement decals have given the aircraft a cleaner, uncluttered look compared to the Strike Eagle I built from the same period using the kit decals. The good thing about TwoBobs decal sheets is that you can do two aircraft from one sheet, so another Eagle will appear at some point in the future. So after more than two and a half years from the start, this Eagle has spread its wings.


Arado Ar 240C-2 Nightfighter WIP #1

This Revell kit had been eyeing me up from the cupboard for a few months begging me to start on it. So last month it won me over and I got it out and started building it. The kit is a straight forwards, uncomplicated 1/72nd model with basic cockpit detail. So far, it has gone together without any hitches and progressed fairly quickly when I manage to work on it. As normal, the fuselage is split in half along the length, but this kit is also tooled with the front and rear sections of the fuselage as separate halves to. Not sure why as the model is not that big in this scale.

Below, the first photo is from test fitting the model together, which show that the fit of the parts were very good and I knew there would be the minimal amount of filling required later. This example of the kit dates back from 2008, though I do not know when the original tooling was done, but the panel lines and joints are very clean and precise.


The next photo is once the wings and tail plane have been glued to the fuselage. I must say that the amount of filling actually done to this model was minimal, which was very pleasing to have a model like this on the table. It is not often this happens with the lower price band of kits. 


Now a quick jump to the photos taken yesterday evening. The canopy and nose glass got masked up and glued in place before giving the model a couple of coats of white primer. I first gave the undercarriage bays a couple of coats of Tamiya's XF-22 RLM Grey. The instruction said to paint them Light Olive, but my tub of this had dried up and the Tamiya colour was the closest I had in my draws. These areas were masked up and the whole model received a few coats of Mr Hobby's RLM76 Light Blue. Once this colour was dry, the camouflage pattern was done using Mr Hobby's RLM75 Grey. That was the stage I was at last night when the photos were taken. So far today, the model has been given a coat of Johnsons Klear and I have started laying down the decals on the model. More to come soon.


Sunday, 24 May 2015

Airfix Club Messerschmitt Bf 109E-3 Finished

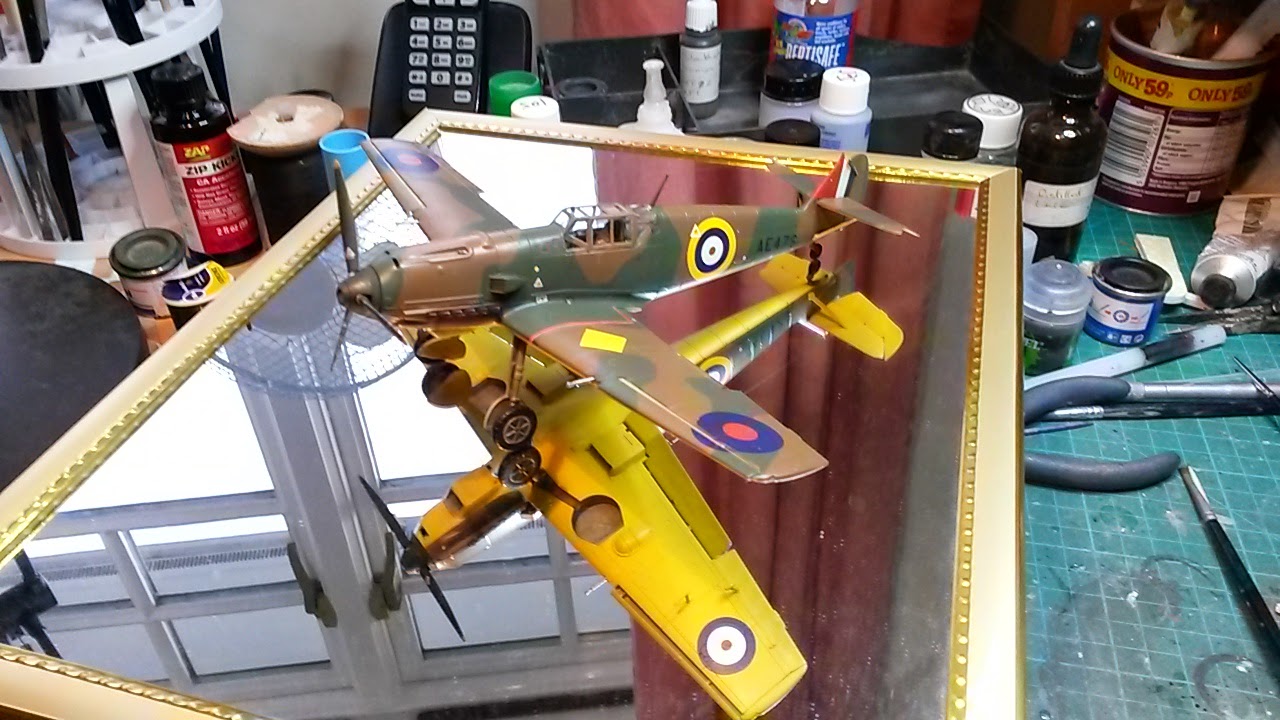
I wish I had done some more WIP posting of this build before this final one, but time has the issue as with most of my builds. By the time I get the call from "SWMBO" to go downstairs to spend some of the evening with her, I just don't get around to doing an update on here, then time goes by and you keep forgetting to do it. So here is what happened during the last couple of weeks with the 109.

After a little rub down of the bad areas on the underside, I resprayed the yellow using the new tin of paint and this did not have any reaction this time when I used the clear on it. But to play safe, I used the Xtracrlix gloss clear over the whole model. Work could now start of applying the decals to the model.


Once the decals were done, a couple of coats of matt clear was blown over the model to seal the decals. Again, I used the Xtracrylix clear for this. Now the detail paint could be started on the undercarriage bays, doors, canopy sections and the engine bay area. On the weathering side of this model, I did not want to go overboard with it. I had already weathered up the cockpit interior before fixing it inside the fuselage, but on the rest of the model I only did the undercarriage bays, gear, doors, wheels and engine bay. My plan for this project is that it had just come out of the paintshop after being handed over to the RAF. For the general weathering, I used Citadel's Nuln Oil wash which I just brushed onto the areas required around the cockpit, undercarriage, engine bay, wheels and propeller. To finish off the propeller, I did some chipped damage on the leading edges using some aluminium paint and an old paintbrush.


Once all of the painting and weathering was done, final assembly was carried out and a length of invisible thread was used to make the aerial wire between the tail and cockpit. In general, the kit built up without any issues and problems that you sometimes get with aircraft kits. Airfix produced a great kit when they retooled the 109 and I will enjoy building the other retooled Airfix kits I have in my stash. But they will have to wait for a while until I finish off some of the other models I have in different stages of build. First the F-15C is priority on the bench and the Revell Ardo Ar-240C which I have just started.


Saturday, 9 May 2015

F-15C Eagle WIP #1

Like a lot of you fellow modellers out there, I have several projects on-hold as to say. This is a right pain in the arse for me at times because they are just sitting there, in various boxes waiting for me to get them out, complete them and stick them on the shelf or cabinet. One thign I said to myself when we moved was to get as many of these on-hold projects finished as soon as I can. 

This Eagle is one of these projects which has been sitting there crying out to be finished, and after two plus years, I decided it was time to bring it out. This is an old Hasegawa 1/72nd scale kit of 1988 vintage. In general, the kit is okay and basically of the same quality as the F-15E Strike Eagle from Hasegawa  I build a few years back. Most of the construction work had been done, the fuselage and wings were all glued together with any gaps that needed filling. After getting the model out today, I added the tails and main  pylons to the wings and fuselage. I am just going to add the undercarriage bay doors to it next and then the model will be masked up ready for primer.

The model will be in the USAF grey scheme as that was the only option in the kit. But I am not sure what condition the kit decals are going to be in yet. But I do have a set of Two Bobs "Too Cool For School" decal sheet to use on the model instead. Now all I also need to do is find the container which has the exhaust and pilot seat in now!