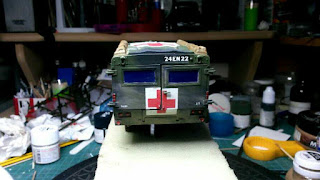
Now that the Land Rover and figures are all finished, it is time to start weathering the ambulance and start on the display base for them. First we will look at the weathering on the Land Rover, I started with a wash underneath, suspension and wheels using Ammo's Earth wash. Next I gave the model a dusting with Ammo's Europe Earth pigment, working underneath, around the wheels and concentrating over the lower half of the body. I wanted to create a more dusty effect, just like you would get travelling overground during a dry summer. The photos below show how the model looks so far, but I will be doing a little more to it later.
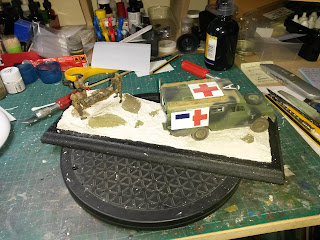
This is roughly how the positions of the Land Rover and figures would be on the base. But as you can see, there is no scenic detail in these photos so the positions could change slightly. But I did this just to plan out the next step after the MDF was sealed and painted.
Now the early stages of creating the landscape on the display base. Once I had masked off the border around the edge of the base, I worked out the positions of some larger piece of rock to create the raised area of the display. This is where the figures are going to be positioned once the base is finished. I also decided that there should be some more rocks buried in the ground where the Land Rover is going to sit. So a few thinner pieces were selected and shuffled around a few time until I was happy.
Now it was time to mix up some car body filler, lay a thin layer over the base and place the rock pieces into the positions in the filler. With what was left of that batch, I started to build up the area between the large pieces then left it to dry. I tend to use car body filler, and the equivalent wood filler because it is fairly light, strong and cures in a short period of time. This way you can make two or three applications of the filler to build up landscapes in a hour.
After a couple more layers of filler, we end up with the shape and contours that are required. I trimmed the excess filler with a sharp knife to the edge of the masking tape and removed it. Any areas that are not correct or are making the figures stand incorrectly, can trimmed and sanded away very easily. Next I will re-mask the edge of the base, do a bit more filling on the outer faces of the raised area to smooth them off before adding the scenic materials to the display.


No comments:
Post a Comment